I like the clear lenses as well. Those painless dent remover guys are amazing. I've used them a couple times on our every day vehicles. Your Bronco is looking great.


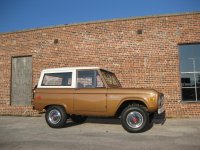
That's pretty cool man. BTW who shipped your Bronco to you? It looks like I am going to have to ship mine to Cali (Bay Area).
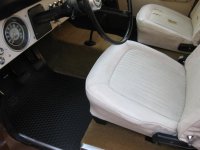
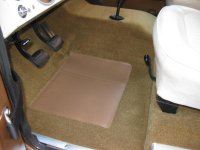
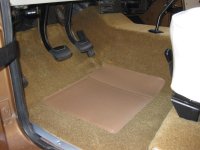
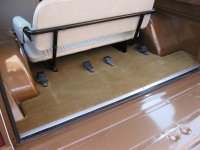
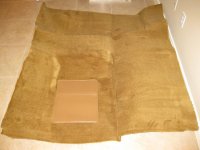
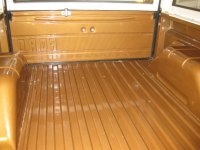
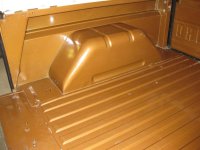
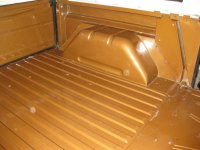
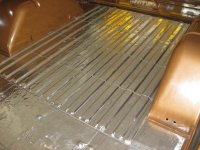
I wouldn't touch it. It's perfect. A time capsule.
By the way, what is a head bolt heater and what does it do?