• Welcome to ClassicBroncos! - You are currently viewing the forums as a GUEST. To take advantage of all the site features, please take a moment to register. It's fast, simple and absolutely free. So please join our community today!
    If you have problems registering or can't log into your account, please contact Admin.

Windsor 5.0 Explorer Motor Wiring with Waste-Spark Coils

EPB72

Contributor
Sr. Member
Joined
Jul 13, 2019
Messages
812
Loc.
Pleasant Hill, CA
@EPB72
Can you elaborate on this?
I read a little about this, but it was for LS engines (having a red crank LED, same as me)
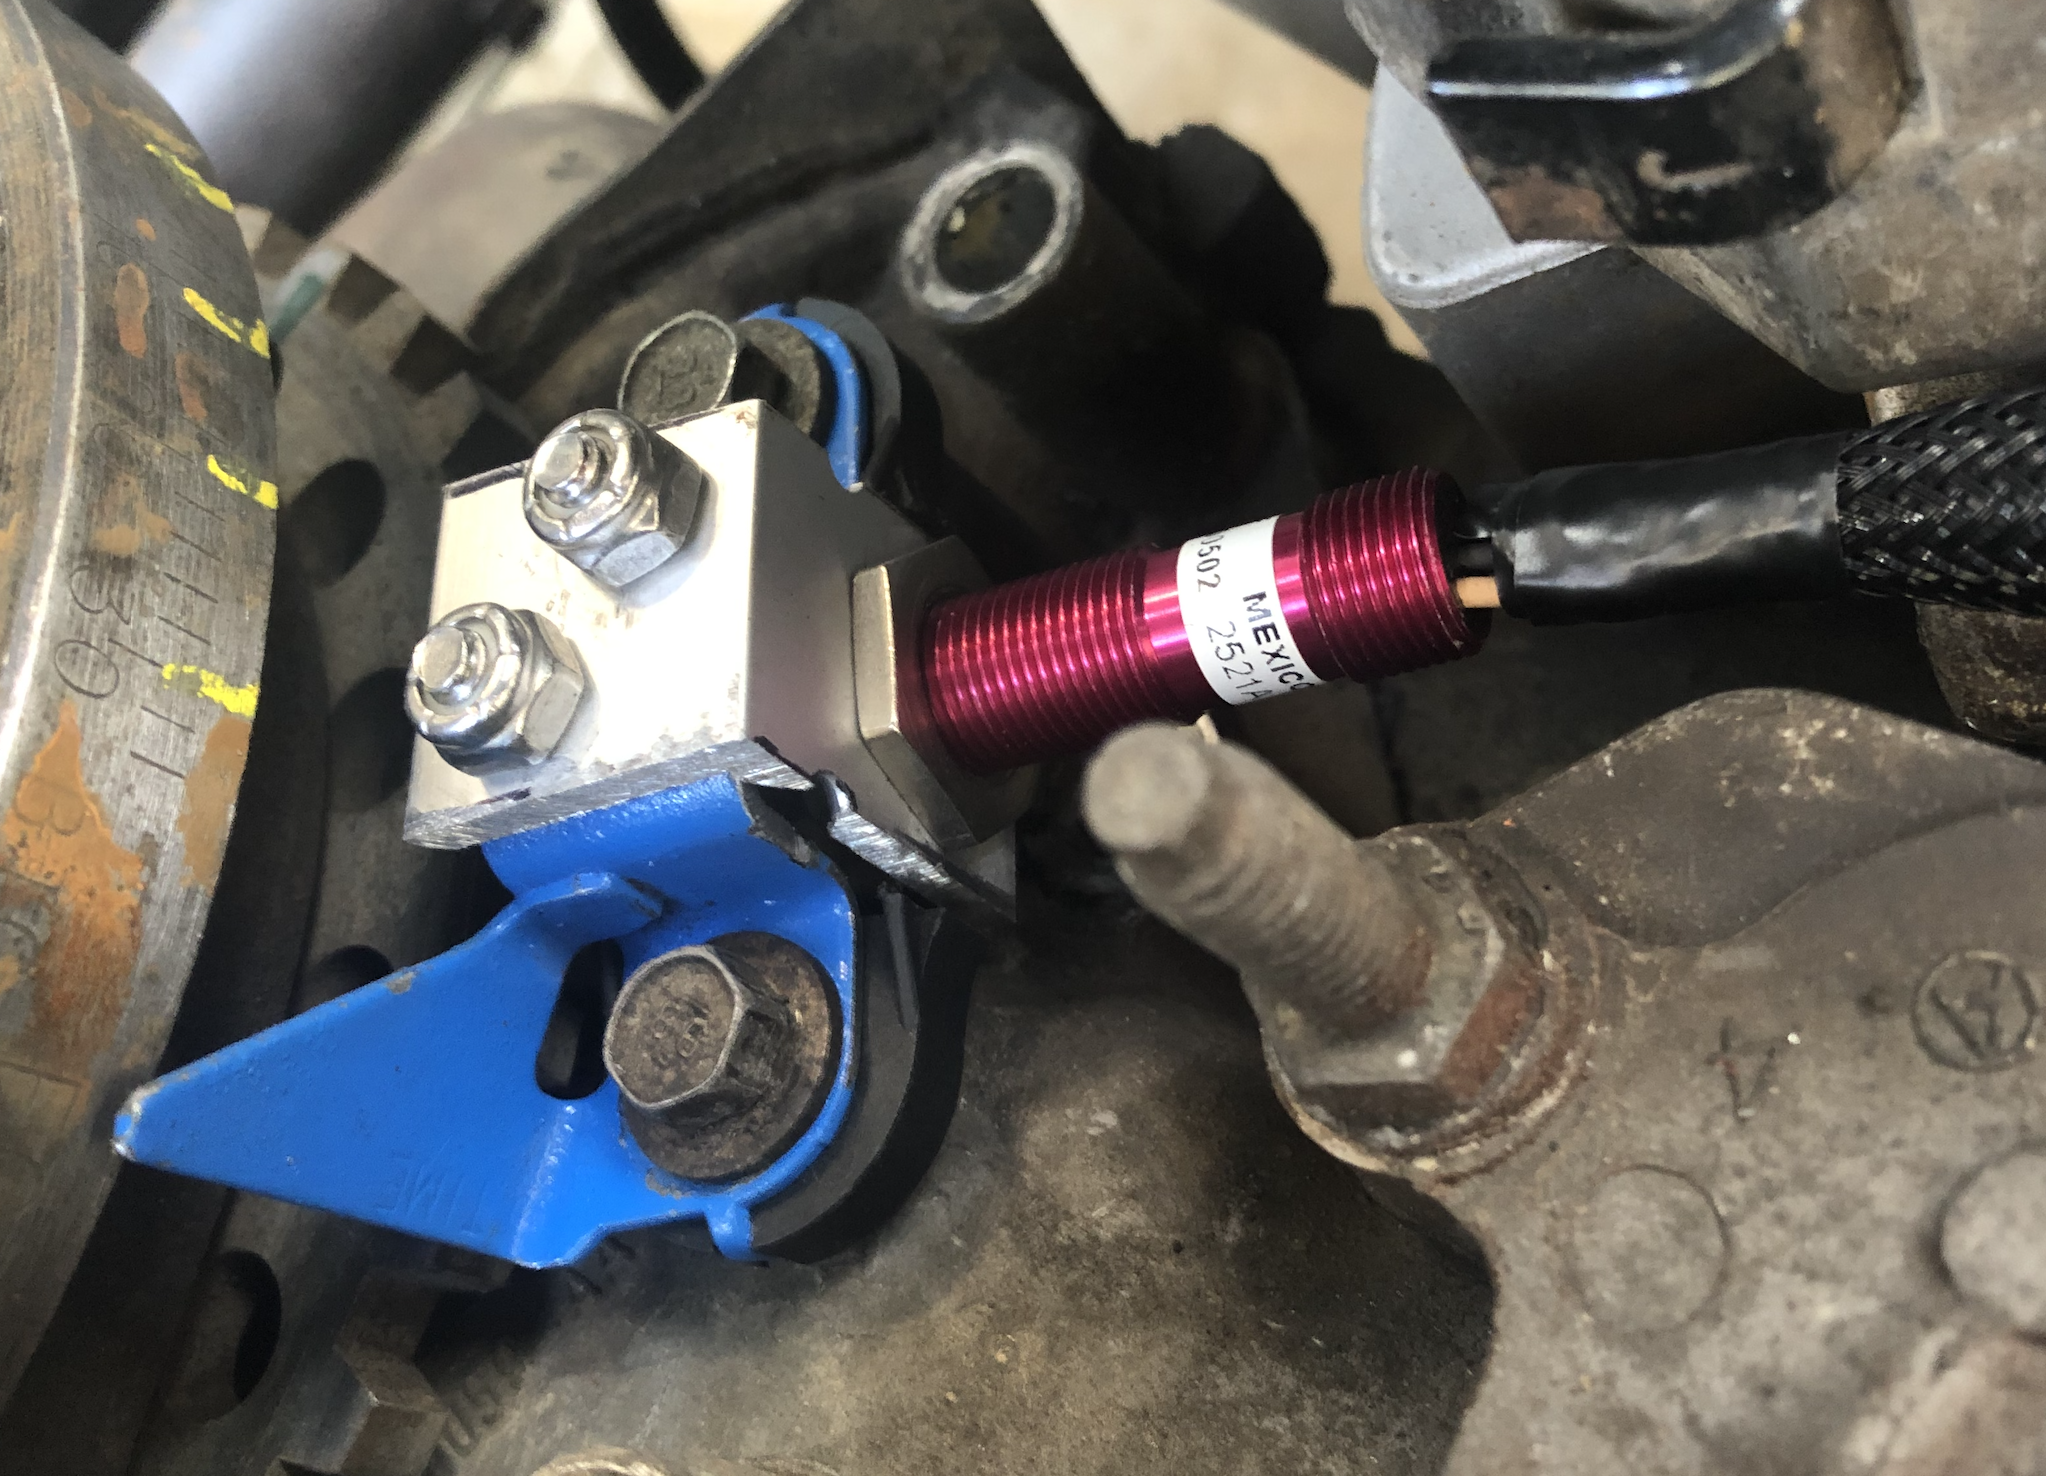
my cam sensor is setup as digital falling
my wires match the picture

yesterday I re timed my cam sensor, she is now stabbed at 185 degrees before top dead center.
Same thing, cranks and cranks, green blue green blue then finally red 6th led

So today I will:
Test for spark
test fuel injector power wire and PCM pulse. I have been told the Holley will not fire the injectors if the cam/crank timing is out (FUN!)
I am considering changing my coil driver wiring to match @yakelys69 col driver wiring (remove 4 of the signal wires)

After that I am stumped
I do have a hall effect style crank sensor in the mail, but it is my understanding it should run with the setup I have
Riding the roller coaster

Not a ford in the picture but very simular...the red trace is a 2wire crank sensor the blue trace is a 3 wire cam position sensor,,,

So on the red trace where the missing tooth is you see it comes from the bottom if you were to switch the wires positions in the connector of the crank sensor the red trace will be inverted meaning the trace will then be coming from the top at the missing tooth.. the PCM is looking for a specific waveform...maybe switch wires or jumpers to temporarly switch wires to see if makes a difference...

My experience is with OE all makes,, no real experience with the Holley stuff

I'm curious as well if you are getting injector trigger....are you able to see any data like an RPM pid?
 

yakelys69

Sr. Member
Joined
Nov 20, 2006
Messages
737
Magnetic (VR) sensors
  • Two Wires
  • use the "Magnetic" type selection in software
  • Generates A/C current
    • Noisy
    • Fine tuning of filtering needed

Hall-Effect sensors
  • Three Wires
  • Clean Digital Signal
    • Digital Rising
    • Digital Falling
      • much preferred

Digital Falling vs Digital Rising : Determines when the signal is sent.
  • Digital Falling, signal is sent when the object has passed through the beam
  • Digital Rising, signal is sent when the first part of the object breaks the beam

I have no idea how wiring the 3 wire cam sensor one way or the other effects anything, thanks epb72 for explaining the 2 wire one.

I will say the reason I went with the kit for the 4v mod motor rather than a MPFI kit was that it came with coil drivers, ev6 injector harness & sensor wiring. I only had to add 1 power wire to upgrade to the 3 wire sensors crank and cam. A huge reason I went with Holley was to have a harness that wouldn't need molest and had all new connectors. I did rework the injector harness to fit better but didn't cut any wires, I simply unwraped, unpin re-pin. The kit I would use with a trans controller would be Part # 550-1319. Also in the future if I want to do coil on plug it's basically ready to go (smart or dumb).

Down side was the harness is long, so as 410Customs is doing I also had to make a center console to hide the dog vomit of harness in my cab.
 
Last edited:

EPB72

Contributor
Sr. Member
Joined
Jul 13, 2019
Messages
812
Loc.
Pleasant Hill, CA
Magnetic (VR) sensors
  • Two Wires
  • use the "Magnetic" type selection in software
  • Generates A/C current
    • Noisy
    • Fine tuning of filtering needed

Hall-Effect sensors
  • Three Wires
  • Clean Digital Signal
    • Digital Rising
    • Digital Falling
  • much preferred

Digital Falling vs Digital Rising : Determines when the signal is sent.
  • Digital Falling, signal is sent when the object has passed through the beam
  • Digital Rising, signal is sent when the first part of the object breaks the beam

I have no idea how wiring the 3 wire cam sensor one way or the other effects anything.

I will say the reason I went with the kit for the 4v mod motor rather than a MPFI kit was that it cam with coil drivers, ev6 injector harness & sensor wiring. I only had to add 1 power wire to upgrade to the 3 wire sensors crank and cam. A huge reason I went with Holley was to have a harness that wouldn't need molest and had all new connectors. I did rework the injector harness to fit better but didn't cut any wires, I simply unwraped, unpin re-pin. The kit I would use with a trans controller would be Part # 550-1319. Also in the future if I want to do coil on plug it's basically ready to go (smart or dumb).

Down side was the harness is long, so as 410Customs is doing I also had to make a center console to hide the dog vomit of harness in my cab.
wiring a 3 wire sensor wrong will absolutly affect the signal or none at all....

I'm only talking about a 2 wire sensor.. as in 410custom first post he stated he is still running the 2 wire sensor on his CKP so was just suggesting a possible simple fix ..if not move on to something else..
 

410Customs

New Member
Joined
Sep 21, 2022
Messages
12
TRUCK IS RUNNING!!!!!!!!!!!!!!!!!!!

After fixing the misfire issues in my coil wiring we were able to diagnose the crank signal was dropping out
My buddy Brett suggested I swap crank sensor ground and signal wires at the ignition harness connector, just like EPB72 said!!!!
I did....... truck STARTED AND RAN!!!

WOOOOOHOOOOOOOOOO
She's running on all 8, good oil pressure
I let run, shut down. I have exhaust leak at drivers header.........and shes running rich, but man shes running!!!!
 

410Customs

New Member
Joined
Sep 21, 2022
Messages
12
@EPB72 THANK YOU
You were correct, I got mixed up was thinking we were talking about swapping the wires at the cam sensor


I have it straight now
I will still run the hall effect sensor when it arrives
 

410Customs

New Member
Joined
Sep 21, 2022
Messages
12
I cannot thank you enough, so Thank you for walking me through this @yakelys69 posting up in this thread has helped many of us!!
 
Last edited:

410Customs

New Member
Joined
Sep 21, 2022
Messages
12
this is the CORRECT cam synchronizer timing settings for the Holley when using the stock explorer 3 wire cam synchronizer and sensor

crank-timing-how-to-09242022-jpg.434863


this puts the cam synchronizer stabbed (using alignment tool) at 185 degrees before top dead center occurs,
This is exactly what the Holley is looking for in order to properly time cylinder 1

thanks @yakelys69 once again for taking me to school!!

A simple static timing check should also be performed after the vehicle is running!!
 

latrucker

Contributor
Sr. Member
Joined
Jul 19, 2010
Messages
619
I cut the bolt ears off the ford pickup to keep the spacing, then attached an aluminum l bracket to keep the pickup in the stock ford location and retain the timing pointer. paying attention to the clearance from the instructions on the new pickup. Just used whatever was on my bench at the time. Perhaps welding a ridged metal bracket would have also worked fine.

cherry-crank.png
I’m starting the same project on a 351w using the same crank position sensor. Instructions call for a resistor to be used between the signal and the 12v wire. Did you use a resistor on yours? Curious if I need to use one or not?
 

yakelys69

Sr. Member
Joined
Nov 20, 2006
Messages
737
the 4 trigger wires on the Holley harness are 18 ga and the two power feeds are 16 ga. Looked adequate to me.
 

nvrstuk

Contributor
Just a Bronco driver for over 50 yrs!
Joined
Jul 31, 2001
Messages
8,880
I just got my TermX stuff parts today. Doing the same wasted spark, 3 wire Hall Effect setup. Using my old Neon coil packs as they were already wired in and fit perfect where I wanted them hid. Actually changed my order from ls COP setup to keep what I've been using for 8 yrs.

"...dumb spark" is what Holley labels the box with the wasted spark connections! lol

Glad you guys are still on the list as I'm sure I'll have a couple questions.

Is this the coil driver setup (in the pic) that ?
 

Attachments

  • 20240304_172139.jpg
    20240304_172139.jpg
    136 KB · Views: 13

yakelys69

Sr. Member
Joined
Nov 20, 2006
Messages
737
Yes the black brick is the coil diver, mine had two of those. Each would drive 8 dumb coils but as we are doing it we use just 4. Do you have one or two of them? If only one you want to wire it to
CYL 1 -> COIL A1
CYL 3 -> COIL B3
CYL 7 -> COIL C7
CYL 2 -> COIL D2
 

nvrstuk

Contributor
Just a Bronco driver for over 50 yrs!
Joined
Jul 31, 2001
Messages
8,880
this is the CORRECT cam synchronizer timing settings for the Holley when using the stock explorer 3 wire cam synchronizer and sensor

crank-timing-how-to-09242022-jpg.434863


this puts the cam synchronizer stabbed (using alignment tool) at 185 degrees before top dead center occurs,
This is exactly what the Holley is looking for in order to properly time cylinder 1

thanks @yakelys69 once again for taking me to school!!

A simple static timing check should also be performed after the vehicle is running!!
Nice to know a few of you paved the way and documented what you did AND helped out... I might need some of that "helping out". :)

So this Exploder Cam Synch is a '96-98? I am about to do what you did and need to collect a few more parts.

Also, did you all use the Holley crank sensor over a stock OE Ford one?

Biggest question is the coil drivers for me (at least right now!) lol

I have more reading to do... not even sure where to connect them in the harness yet.
 

nvrstuk

Contributor
Just a Bronco driver for over 50 yrs!
Joined
Jul 31, 2001
Messages
8,880
Yes the black brick is the coil diver, mine had two of those. Each would drive 8 dumb coils but as we are doing it we use just 4. Do you have one or two of them? If only one you want to wire it to
CYL 1 -> COIL A1
CYL 3 -> COIL B3
CYL 7 -> COIL C7
CYL 2 -> COIL D2
Thanks, I'll try laying that out this weekend. Need to look at my harness and see if I have wires "COIL A1" & "COIL B3" labeled. Since I only have one I will wire it up this way, thanks
 
Top